
DIY Boxed-Casing for Bedroom Window
When we moved into our house, the windows were covered in dusty old blinds that we took down on the first night. We had been performing nightly shows for our neighbors ever since.
Our more-than-20-year-old Andersen windows desperately needed some love. Still, I couldn’t just slap a window treatment over an old casing that didn’t line-up, had ugly gaps with a bad paint job that looked like our daughter might have done it.

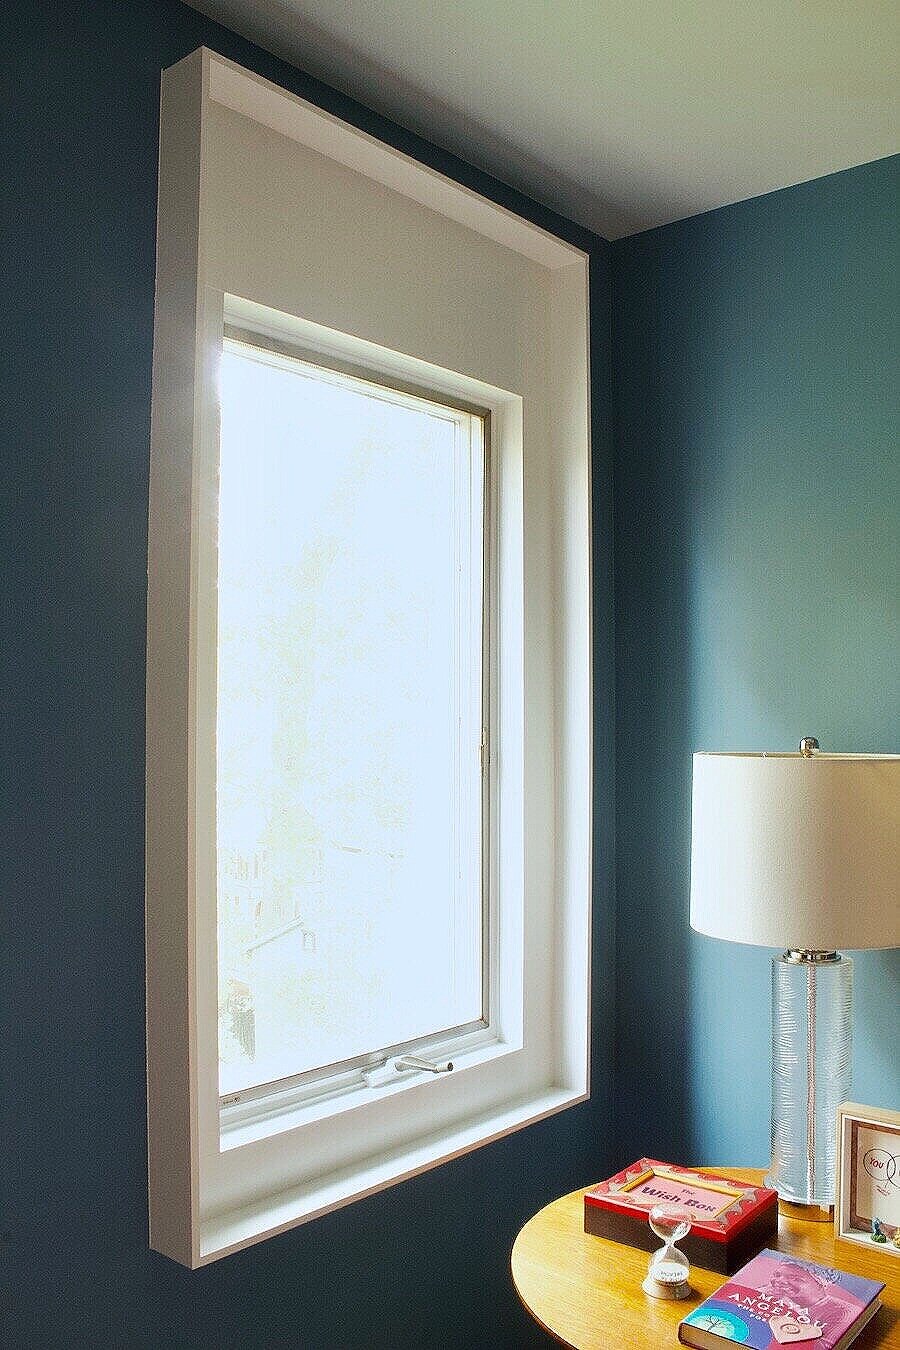
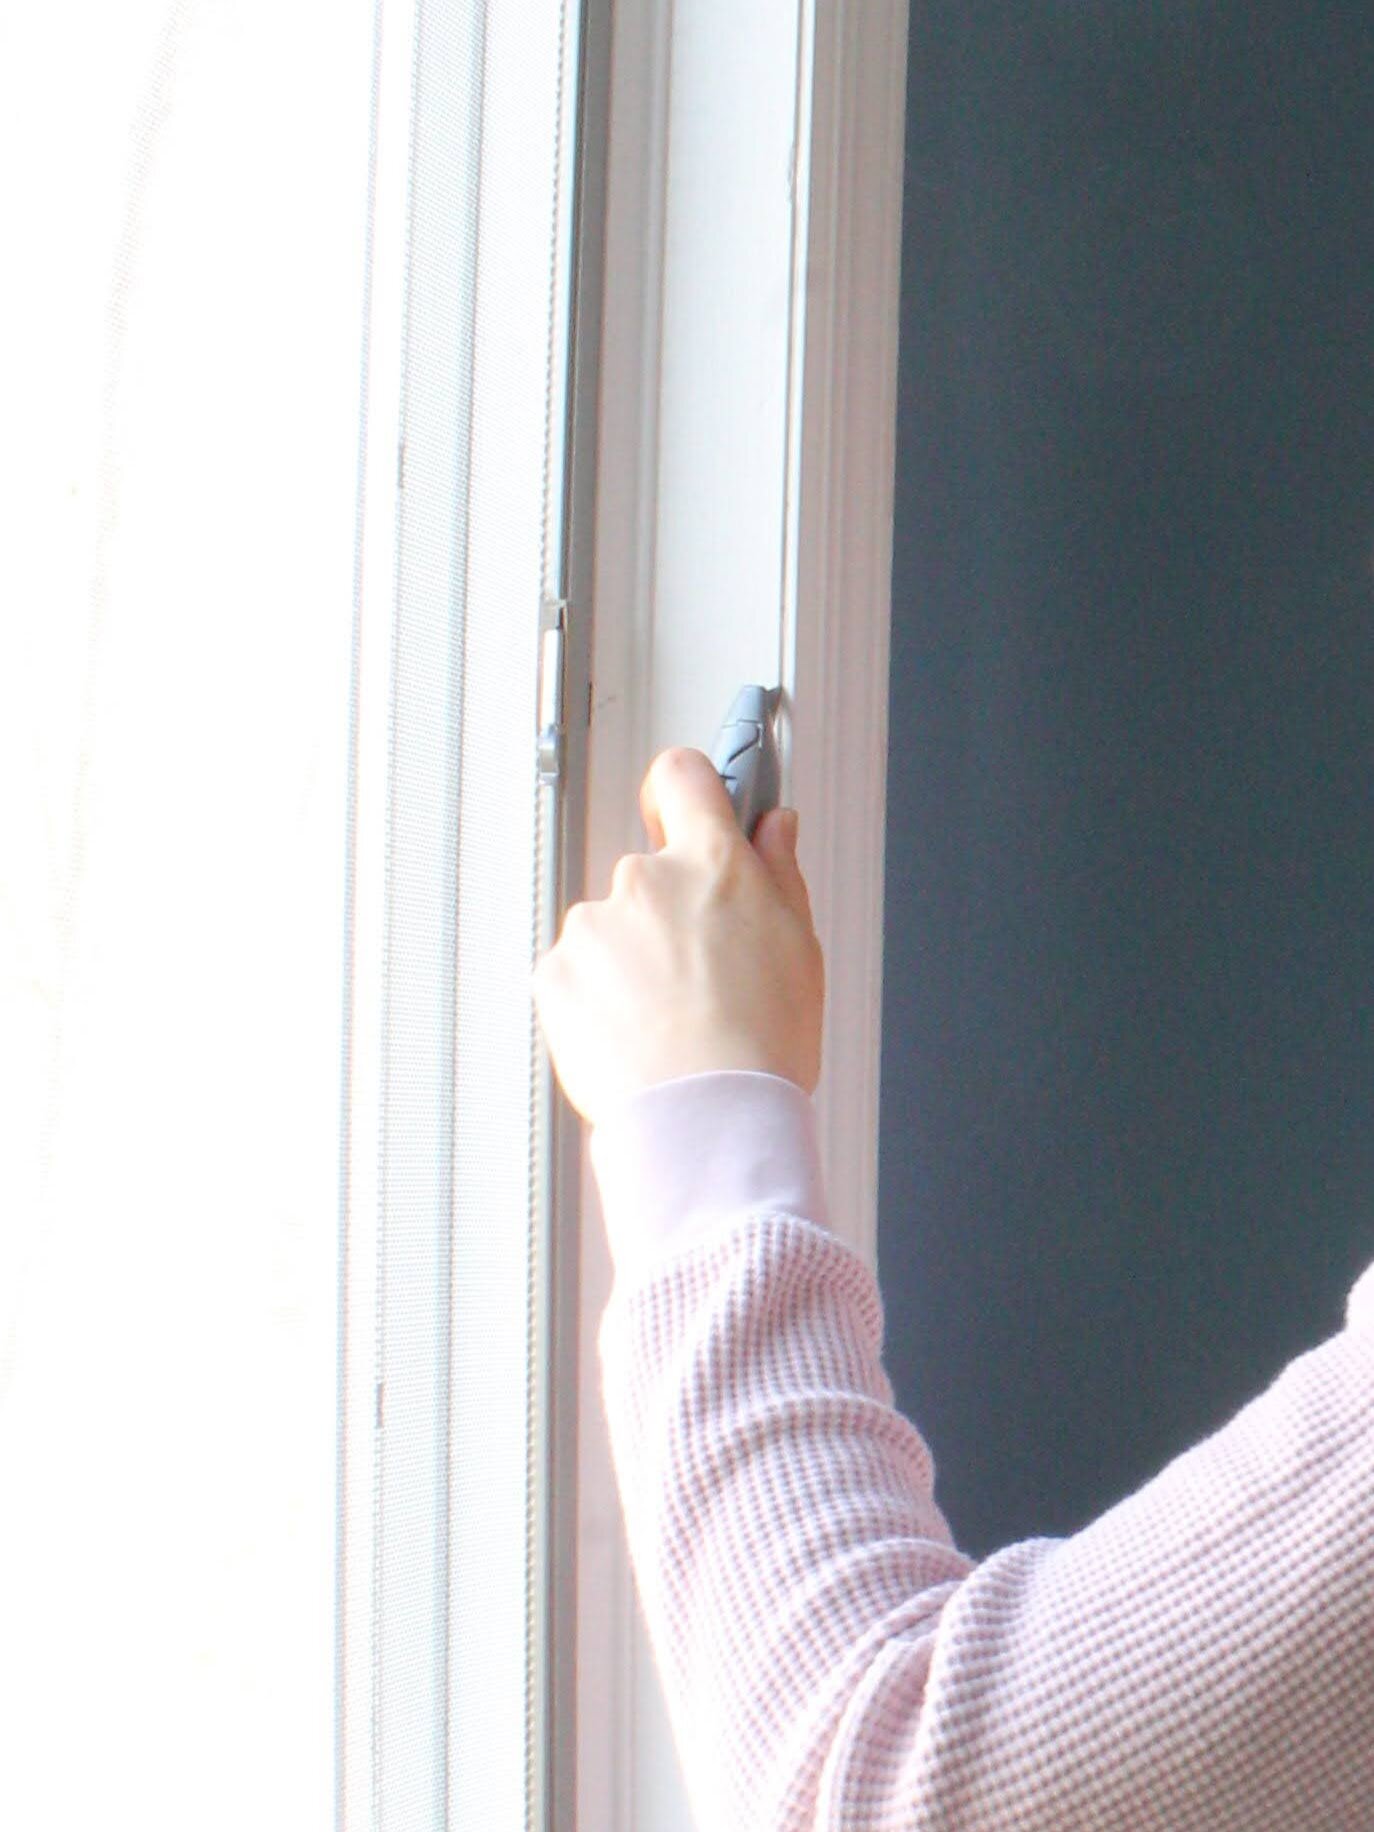
A simple boxed casing around the windows would help us with a much needed dark room at night while hiding those functional operating handles that always stuck out and fell off.
So, here is how I made my boxed-casing for our bedroom windows. If, at any point, you get lost, hit me up on Instagram!

Tools used.

Tape measure + pencil
Small piece of wood (to protect your walls)
Supplies used.

Primed 1x4 pine board (we got 66 ft)
Primed 1x6 pine board (we got 12 ft)
hite caulk (indoor/outdoor sealant)
Paint of your choice (I chose white in semi-gloss finish)
Dropcloth (optional)
Note: The actual (nominal) dimensions of the boards are ¾”x3.5” for 1x4 and ¾”x5.5” for 1x6. Keep that in mind when calculating.
The dirty work.
Preparing a project is not the fun part, but it always pays-off in the end. Here’s what I did:
A drop cloth is a great idea to protect the area
Started by scoring along the caulk line on all sides of the old casing
Pushed my putty knife to separate the casing
Once I had a good gap, I used my pry bar to pry the casing off (using a piece of wood under the pry bar that is touching the wall keeps the pressure off the wall)
Some nails were sticking out, so I either pried them out or tapped them with a hammer
When I pulled all the casings, I felt like I got to know our house more. Huge gaps with no insulation! So I ended up insulating every little crevice.


The fun part.
I measured the height of the window frame from the inside bottom to the top
Using the miter saw, I cut one piece of 1x4 board and nailed it to one side, then did the same for the next
Each time I nailed, I did a zig-zag motion, alternating nails between the wall and the frame about 8 inches apart
I then measured the width between the two pieces I just put on from their outer edges and cut a piece of 1x4 with that measurement
For the top, I did the same measuring techniques, but to give the frame some height, I used two 1x6 boards to do it


To make the sides of the box part, I measured from the very top to the very bottom of the frame and added ½” (the thickness of the board)
Using that measurement, I cut the sides and lined them up flush against the top of the frame, leaving the bottom of the boards to stick out ½”
Using the nail gun, I nailed the sides directly to the boards that make up the frame
To make the top of the box, I did the same
For the bottom of the box, I measured the distance between the insides of the two boards, then cut a piece using those measurements
It helped to put in a few extra nails for the bottom board so it can withstand the weight of little knick-knacks (maybe?)
I was done installing it in about a couple of hours.


Finishing touches.
I taped around my new box, filled the holes with wood filler, and caulked all the corners. Fine grit sandpaper to smooth all surfaces was useful before painting.


Next up, flat roman shades!