
DIY Hidden Foil & Wrap Storage
By Saruul Herz
We regularly use foil, parchment paper, and wax paper while cooking, baking, and storing food, but we've never had dedicated storage. It's always been in drawers or cabinets, taking up too much space. Not to mention how ugly and unstable those boxes are.
I've recently completed our kitchen island fronts and cover panels, but there was a gap of about 1 7/8" remaining.
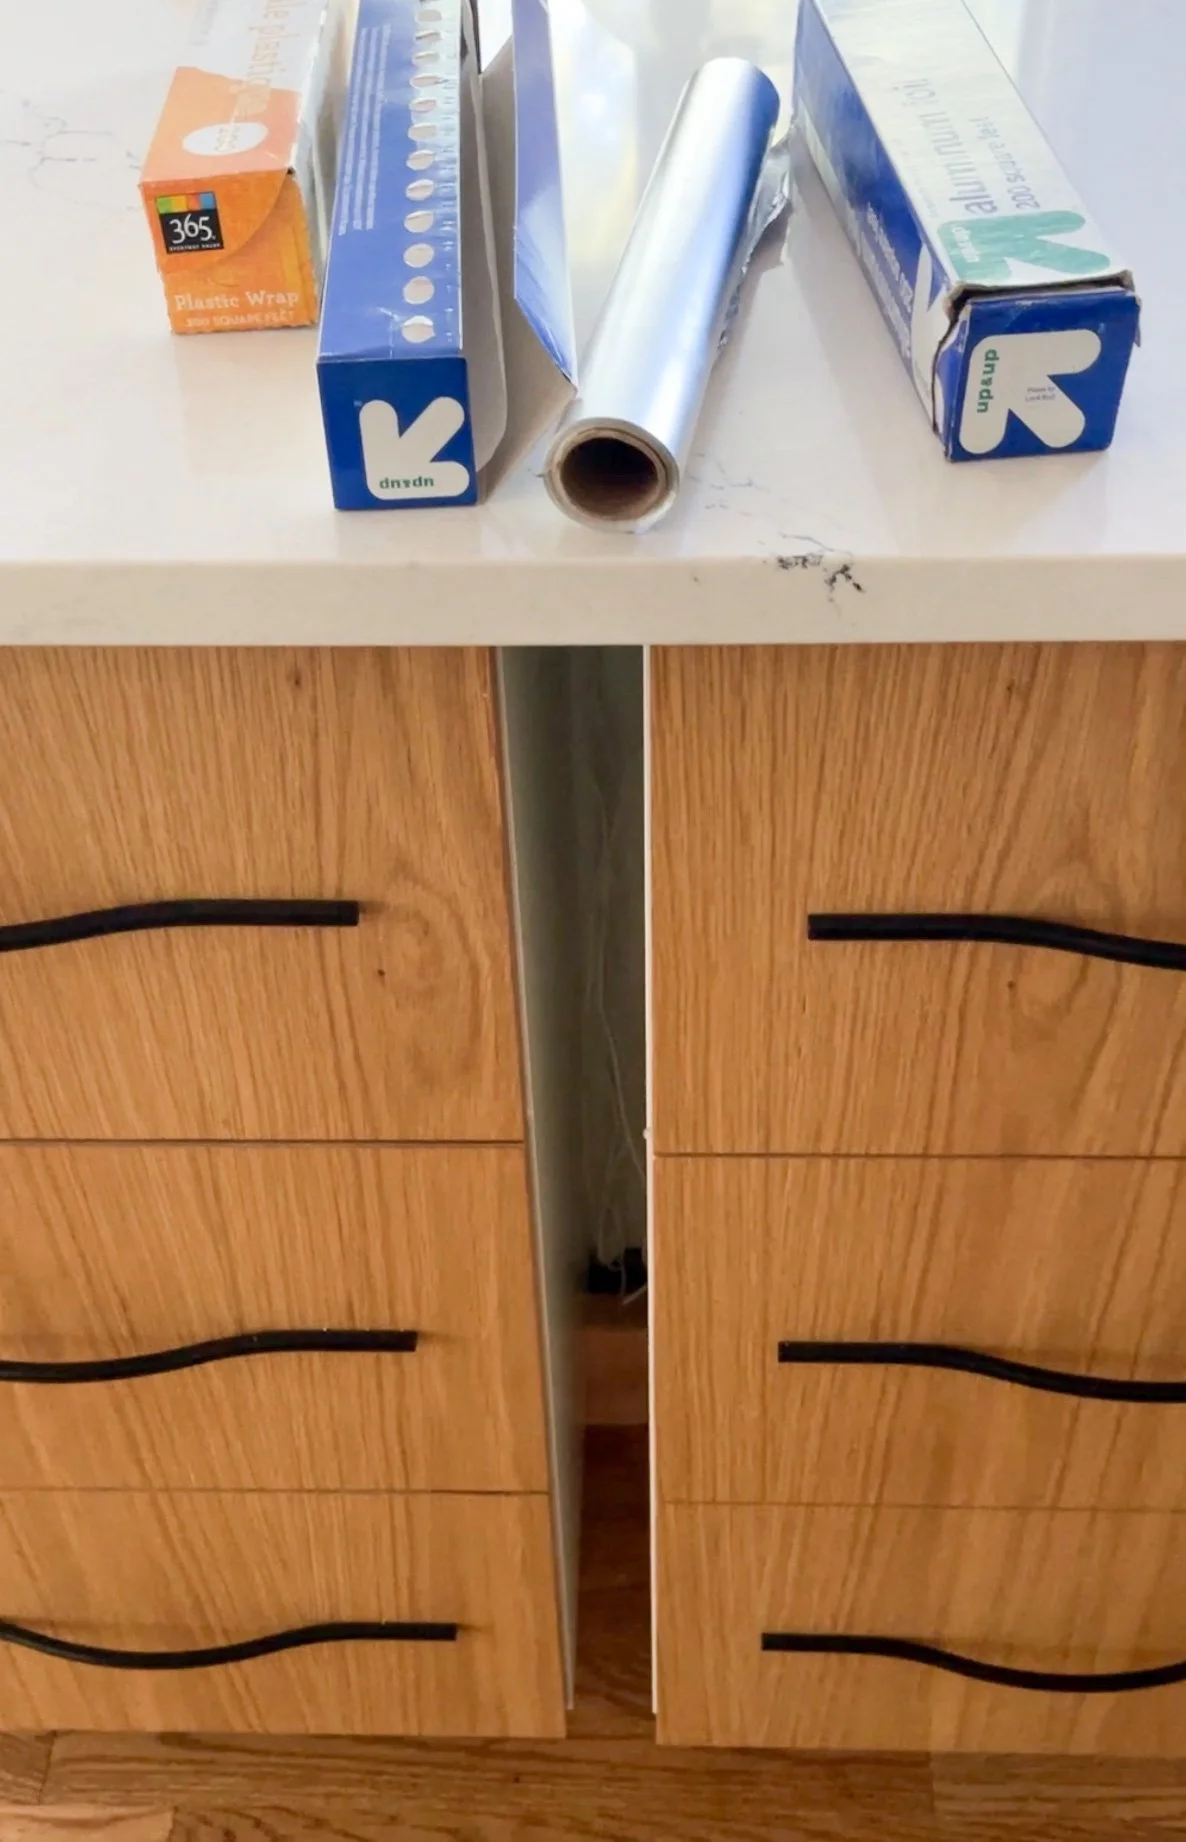
So I've set out to build dedicated hidden storage precisely in that gap using some scrap pieces from the cover panels I've installed on the island.
Here is how I built it.
| Tools | Materials |
|---|---|
| Table Saw | Scrap Wood (I used 3/4" Plywood) |
| Cordless Drill | Two Full-Extension Soft-Close Drawer Slides |
| Pocket Hole Jig | 1 1/4" Pocket Hole Screws |
| 1/2" Forstner Bit | 8 piece 1/2" Wooden Dowels (13" Lengths) |
| Trigger Clamps | Wood Glue |
Sander (optional) | 220 Grit Sandpaper |
Paint Brush/Roller (optional) |
Wood Sealer/Paint (optional) |
3M Double Sided Sticky Foam |
1
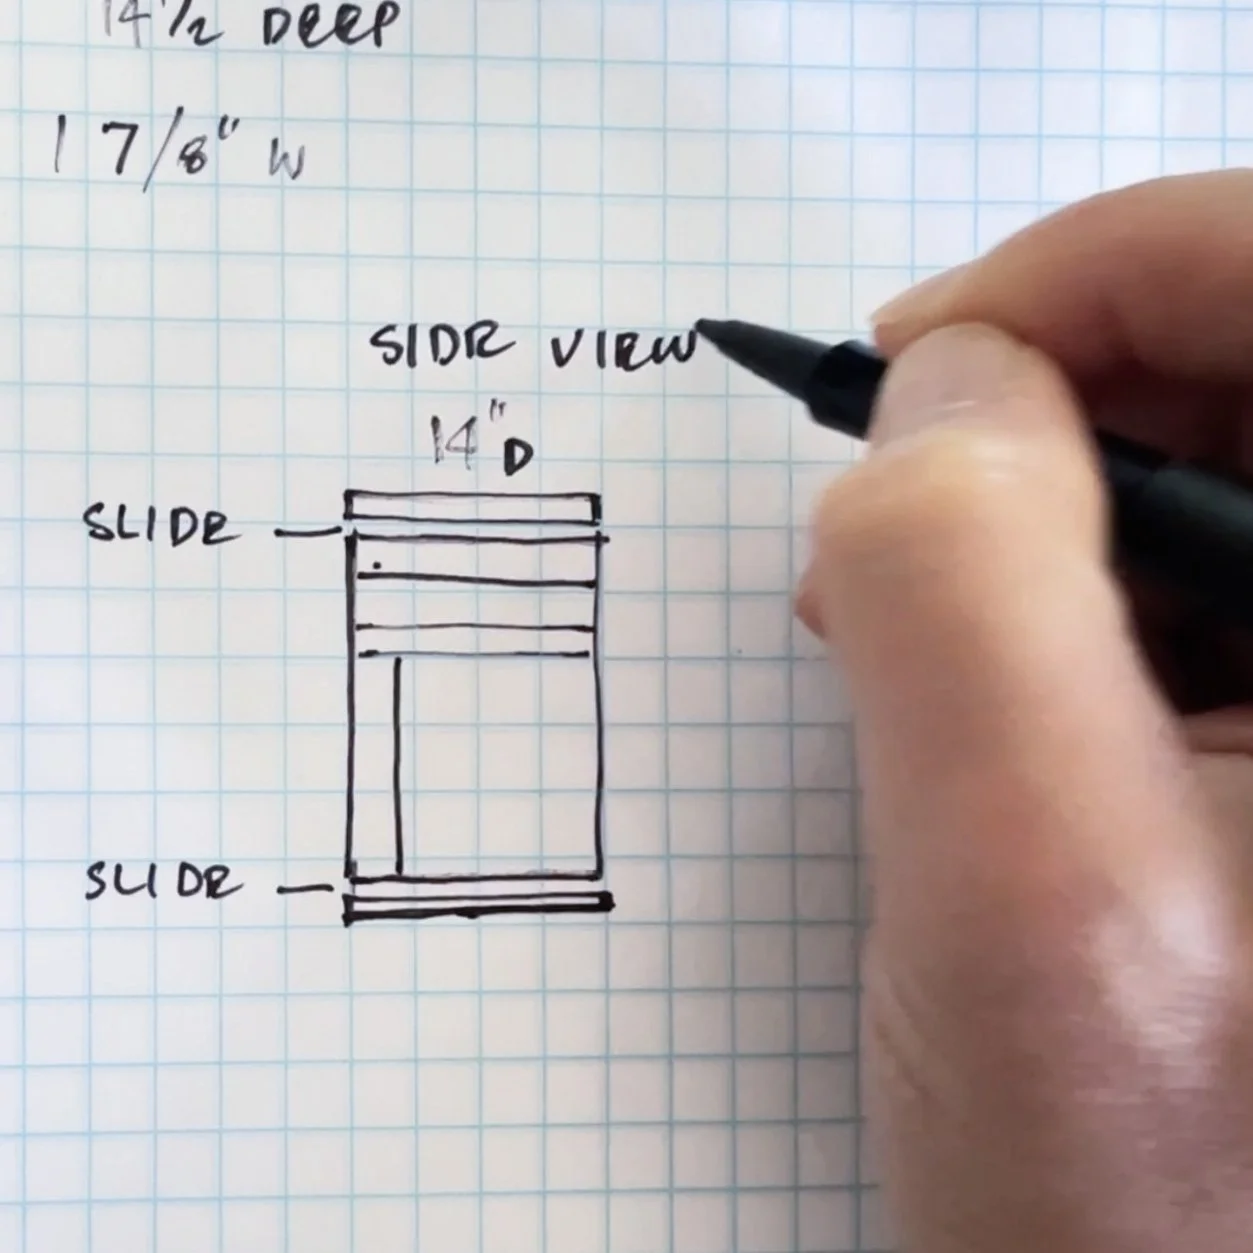
I did a quick sketch outlining what components it would have. In my case, it will house foil, parchment paper, wax paper, and cling wrap, so I figured four tiers should do it.

2
I measured and started cutting the top and bottom support pieces to hold the drawer slides. These were both cut to fit the gap snugly.

3
I then attached the drawer slides using the provided screws. First, I lined up the front of the drawer slides with the front of the support pieces, then centered them lengthwise. The use of clamps was so helpful here.

4
Next, I secured them between the cabinets with 2-3 screws from either side, facing the top piece down and the bottom up, respectively.
5
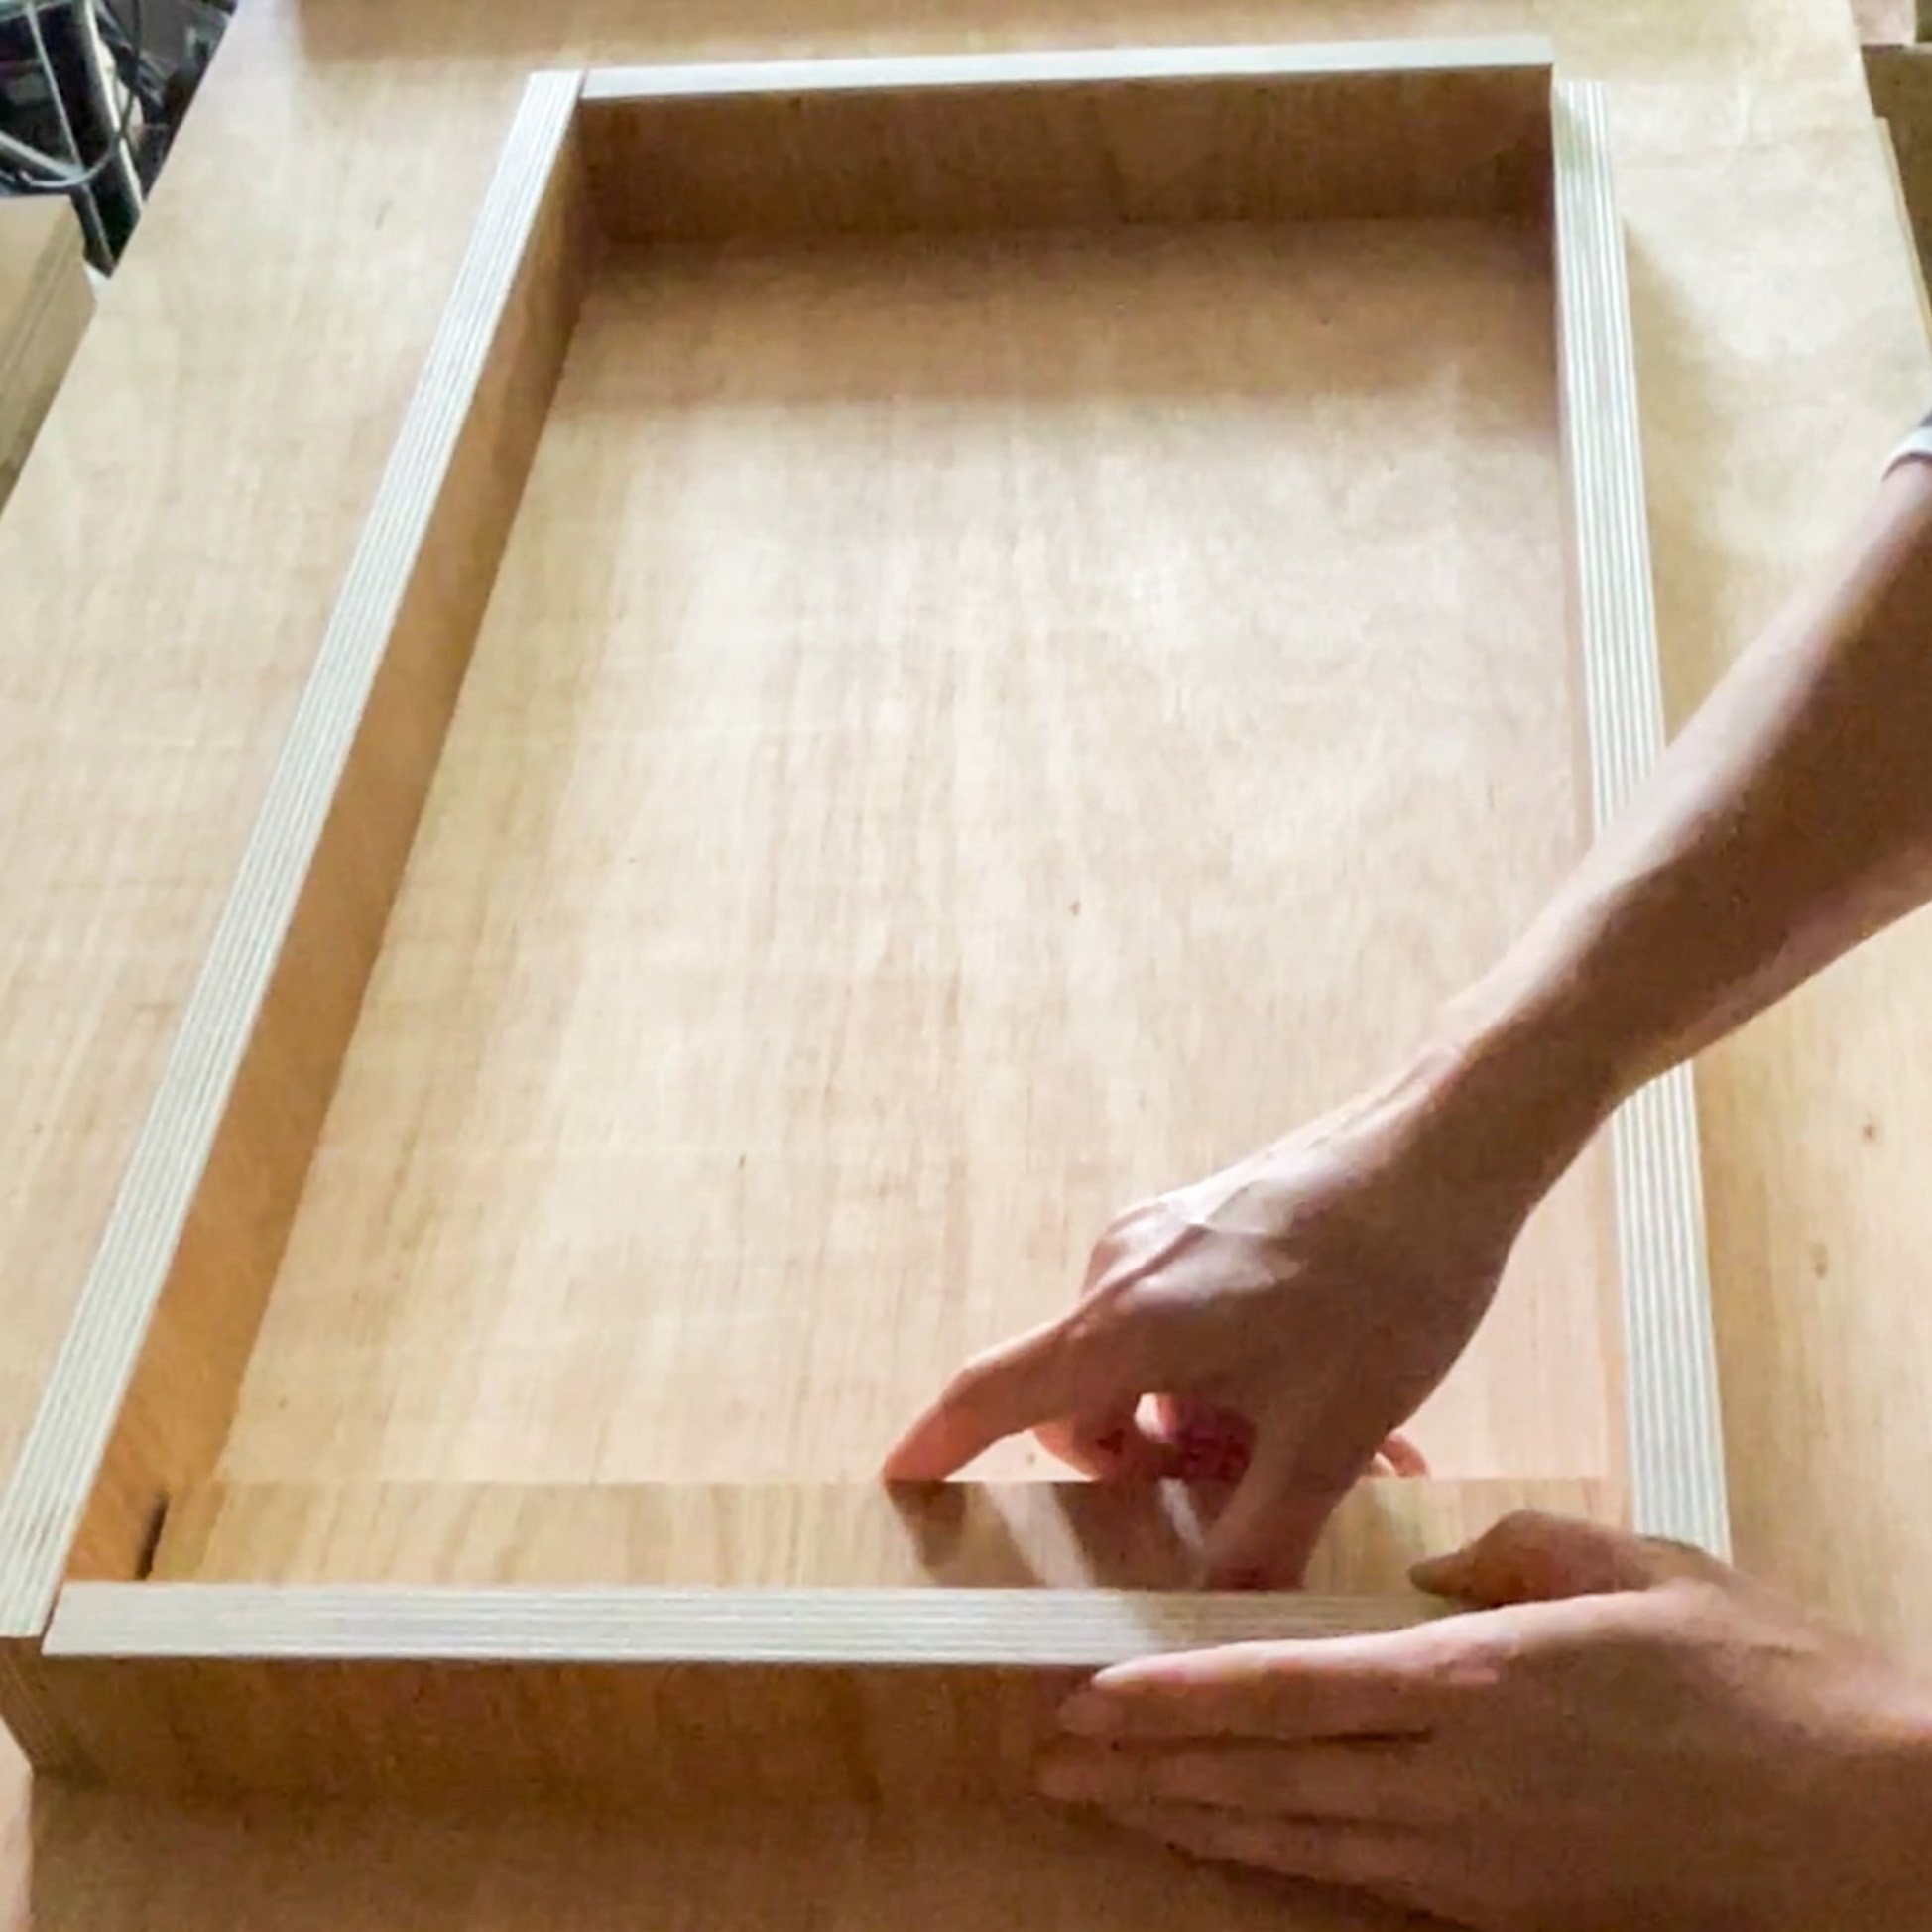
The frame. I measured the space to get my final measurements but I left a 1/8” space for the width to ensure it would slide freely and 1/2” shy of the total depth. I also sanded all the cut sides with 220-grit sandpaper.

6
Drill pocket holes. I drilled two pocket holes on each side of the top and bottom pieces and one pocket hole on each side of the reinforcement piece. The jig I use automatically adjusts to the wood depth, but I changed the depth at which the bit drills to 3/4" deep to make sure it wouldn’t drill through my 3/4” thick plywood.

7
Start assembling. Using 1 1/4" pocket hole screws, I secured the top to the frame front and the support piece to the top piece. I used a clamp to hold the two together while I drove the screws in.

8
Then I clamped the frame's front and back pieces together to mark where the dowels would be. I used two dowels for each tier, spaced them about 4" apart between tiers and about 1/2" between them, and started drilling 1/4" deep holes using the 1/2” Forstner bit.

9
Next, I dropped small bead-size wood glue in each of the holes I had drilled and fit in all eight dowels on both the front and back pieces.

10
Then, using 1 1/4" pocket screws, I screwed the top to the back and assembled the bottom part of the frame. The frame was now constructed. I used a clamp to hold the glued dowels tight overnight.

11
Installation. The next day, I secured the drawer members centered lengthwise to the top and the bottom part of the frame with screws that came with slides.

12
Before I slid the whole frame in, I used blue tape to make a pull. This step was essential, otherwise, you'd be trying to figure out how to pull the frame without any handle (which I learned the hard way). Then, I used 3M double-sided sticky foam while I aligned the front to hold it in place.

13
Once I was happy with the position, I pulled out the storage and secured the front with three screws inside the frame. Before I attached the cabinet front, I installed the knob and ensured the screw was flush with the back.
The last step was the most satisfying part! I loaded up our newly built hidden storage, which we still enjoy.

I used a hard-wax sealer on the cut sides of the plywood, but depending on the material used, this is an optional step. So now you can hide your ever-cluttering foil and parchment paper and use those odd spaces in your kitchen.
Check out a quick reel for this build, and please DM me if you have questions.