
Our Hacked Ikea Cabinet Doors
By Saruul Herz
Since we ordered our Plykea Oak fronts, I've been looking for doors for our upper cabinets. My plan for these doors was to have some depth and painted finish to contrast our Oak fronts. In addition, these doors needed to come in custom sizes for our hood cover.
My search came close with Semihandmade's DIY Quarterline doors. It was a beautiful line with its simple, minimal styles & rails, but it wasn't available in custom sizes (at the time, but now they are!).
So I decided to do an Ikea hack with their Sinarp fronts. It was the only door Ikea had that was entirely veneered (front and back) and edged in solid oak, which means it's easier to refinish than other laminated options.
Here is how it went.
| Tools | Materials |
|---|---|
| Orbital Sander | Ikea Sinarp doors |
| Table Saw | Oak Boards in 1/4"x4"x4' long, ripped in 1/2" size |
| Miter Saw | Wood Glue |
| Clamps | Wood Filler |
Vacuum w/Soft Bristle | 180 Grit Sandpaper |
| Paint Sprayer/Paint Roller | 220 Grit Sandpaper |
| Tack Cloth | |
| Primer | |
| Behr Premium Cabinet & Trim Enamel |
1
I sanded all sides of the doors with 180 grit sandpaper, followed by 220 grit to finish. My orbital sander did all the work.
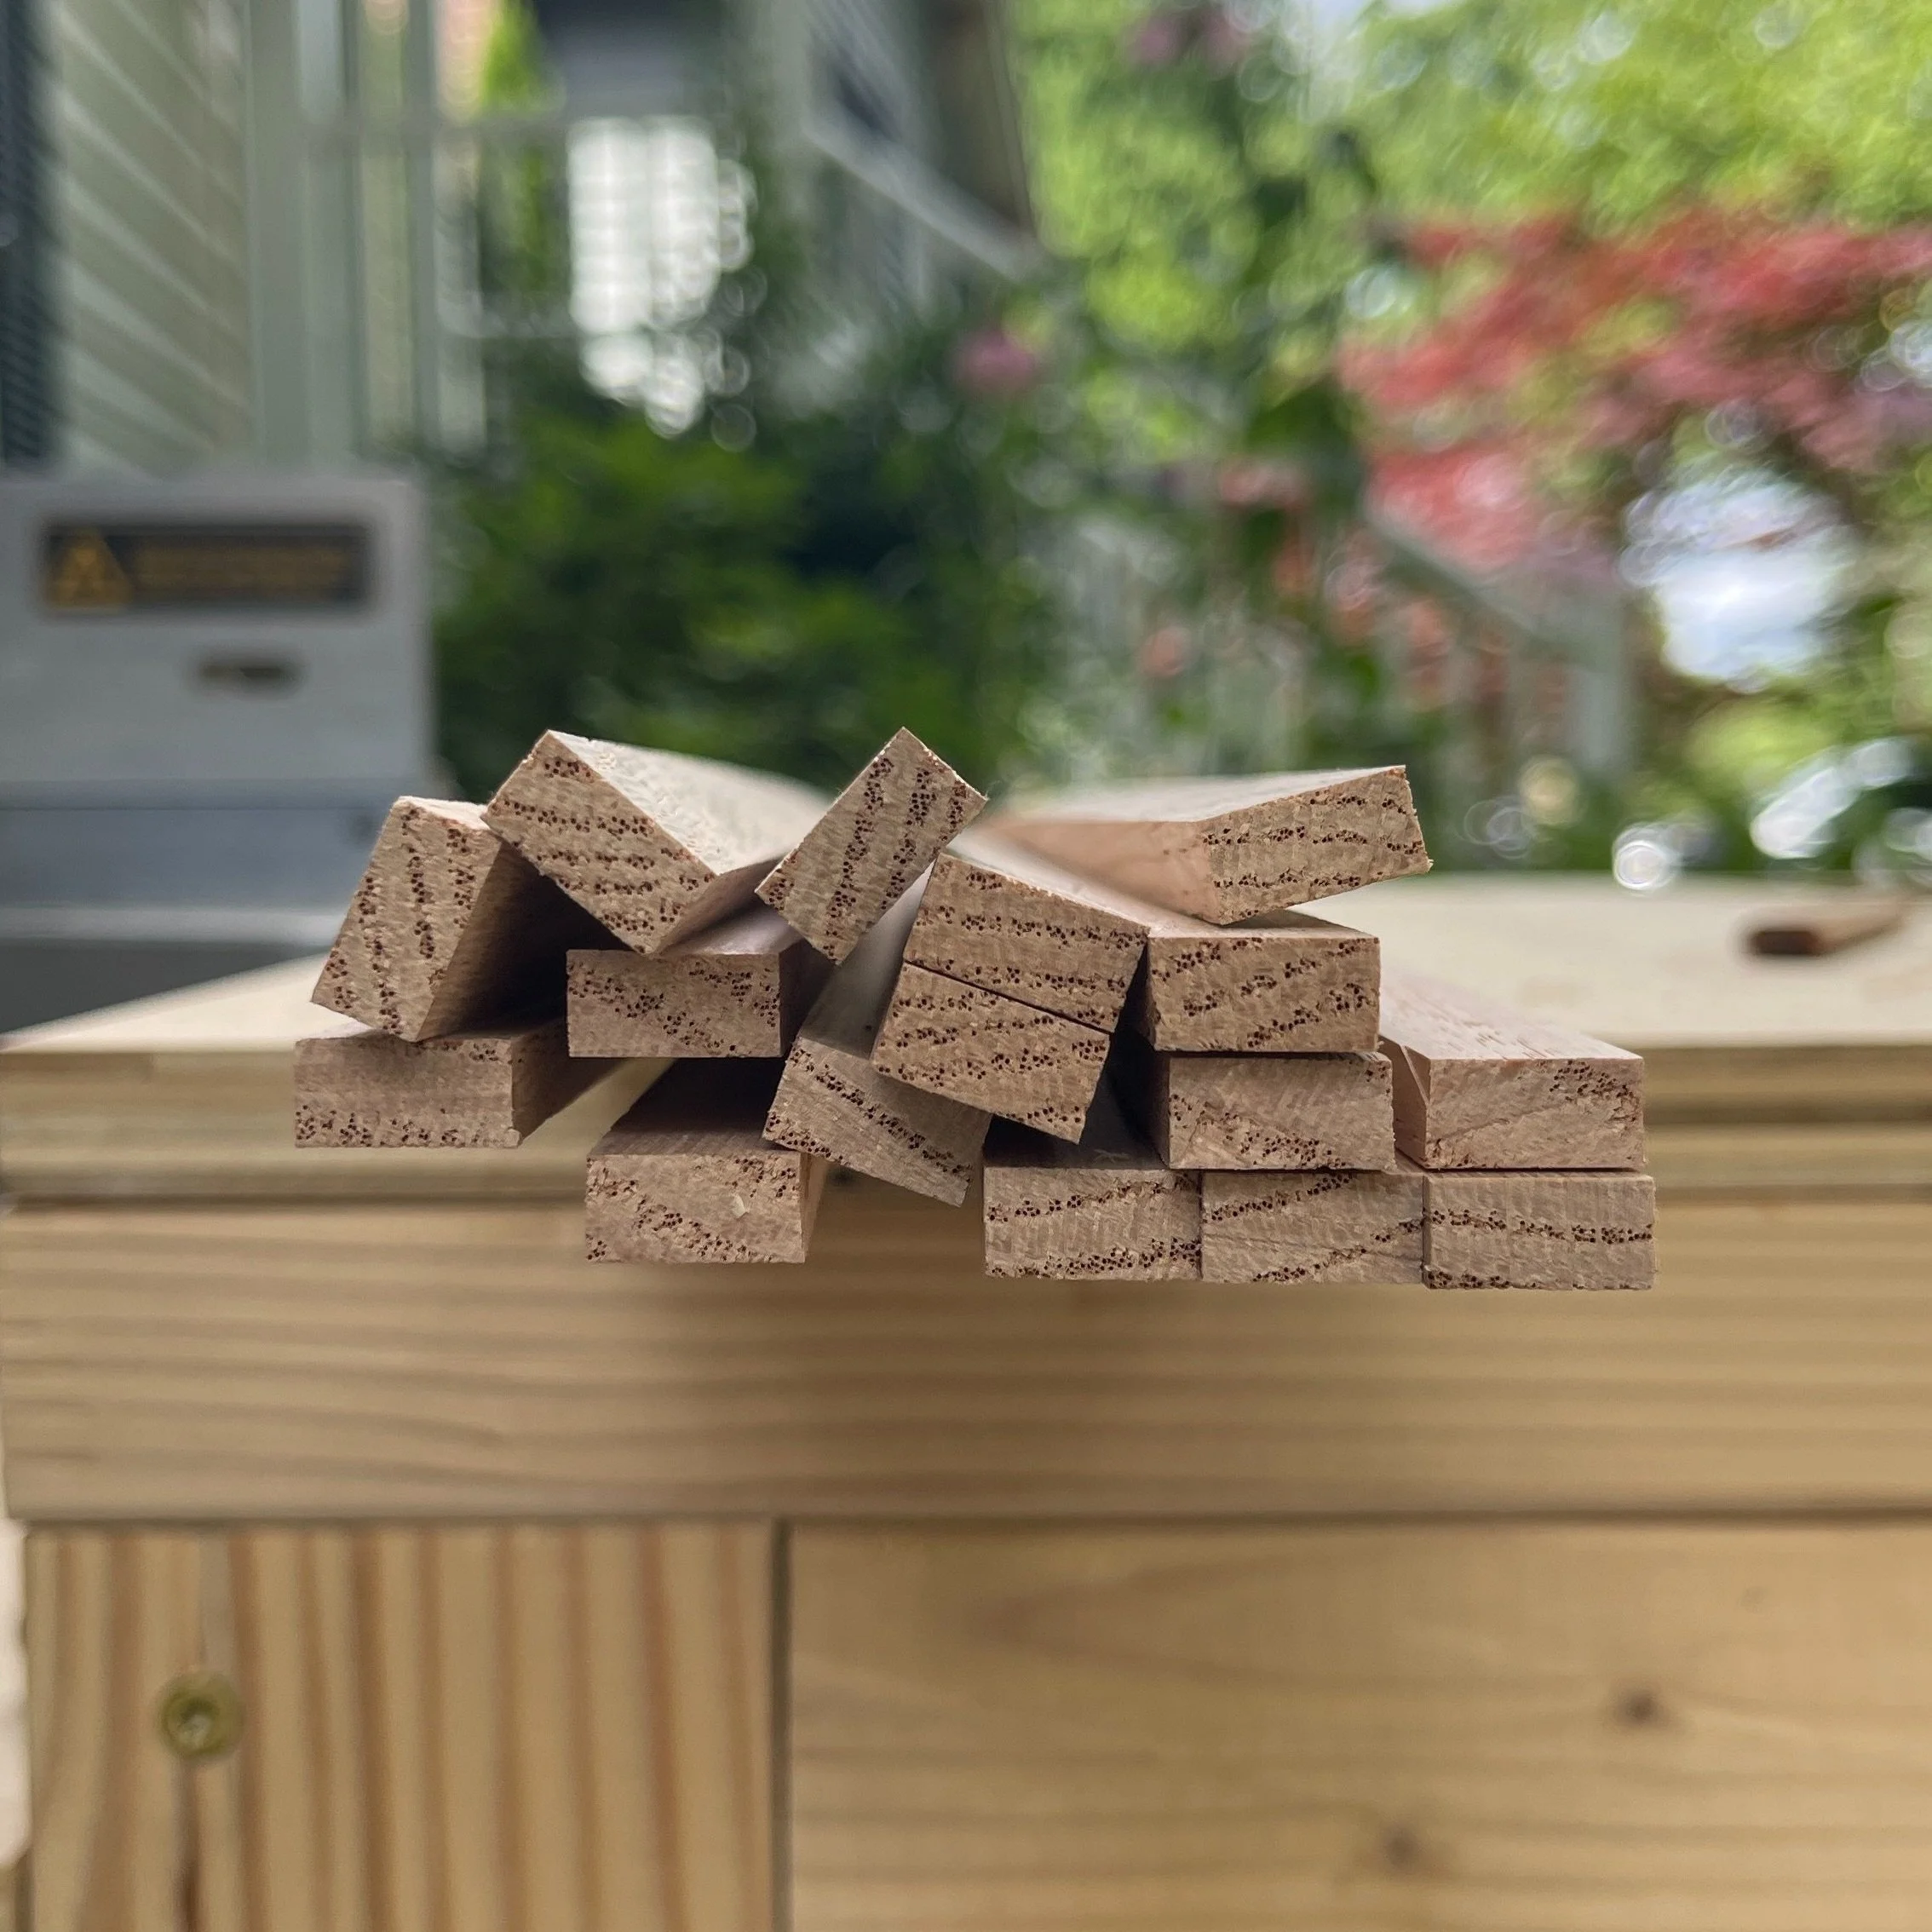
2
I ripped the oak boards into 1/2" strips on a table saw, then sanded them with 220 grit paper.
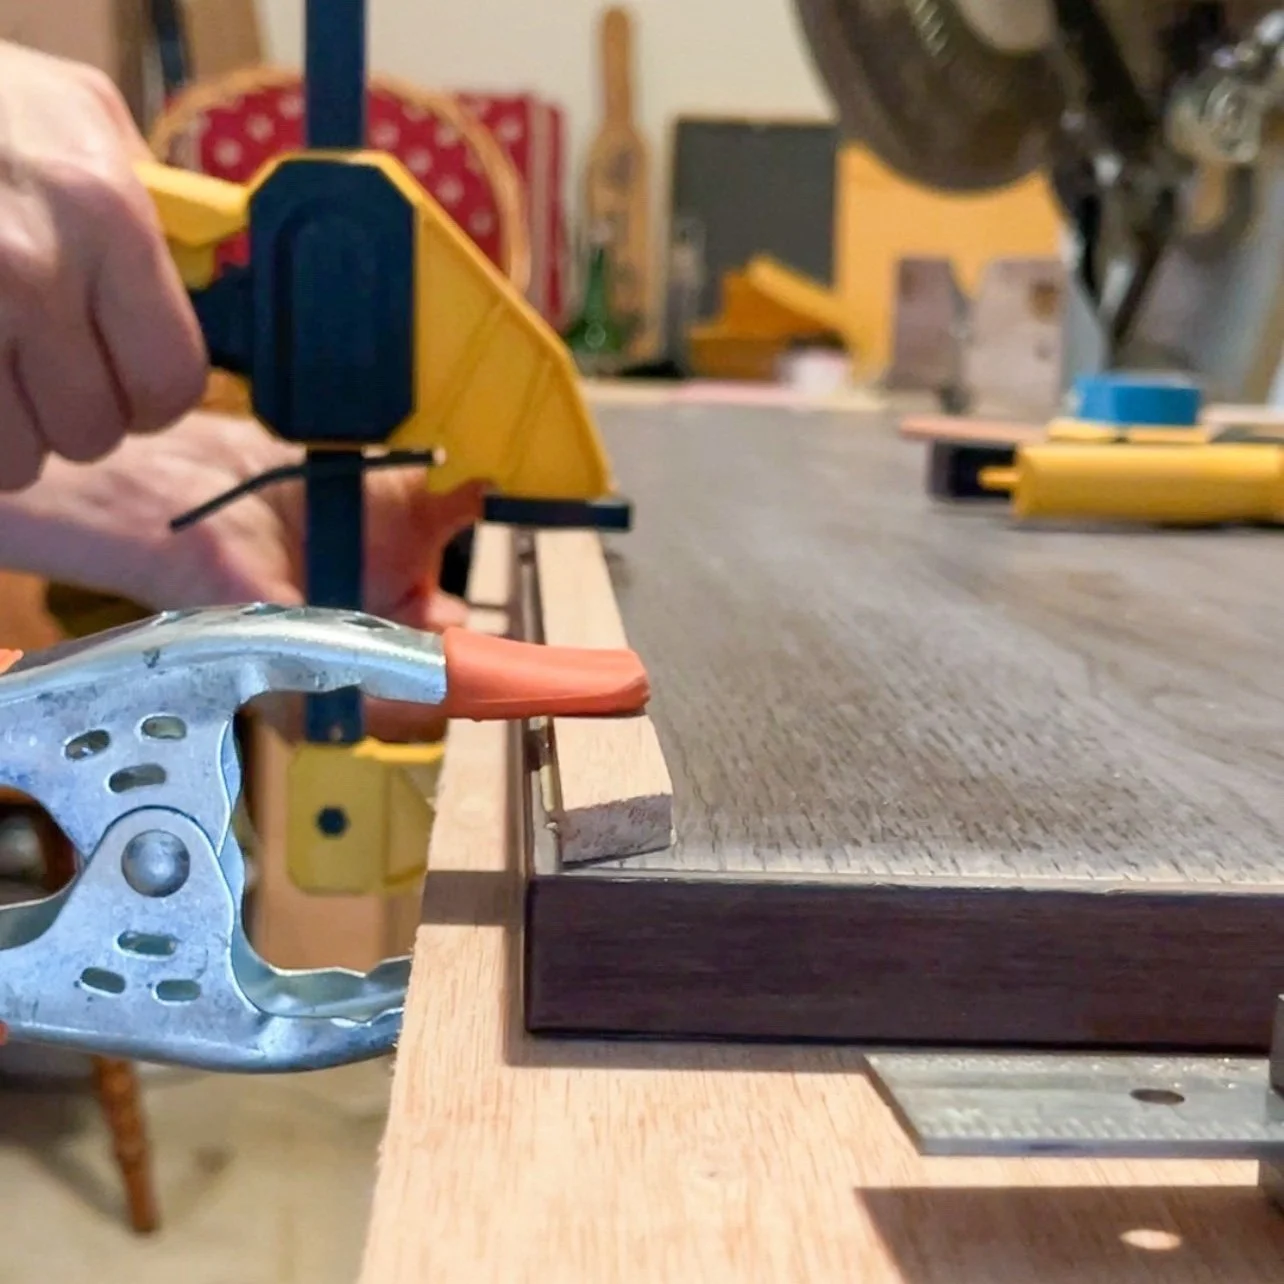
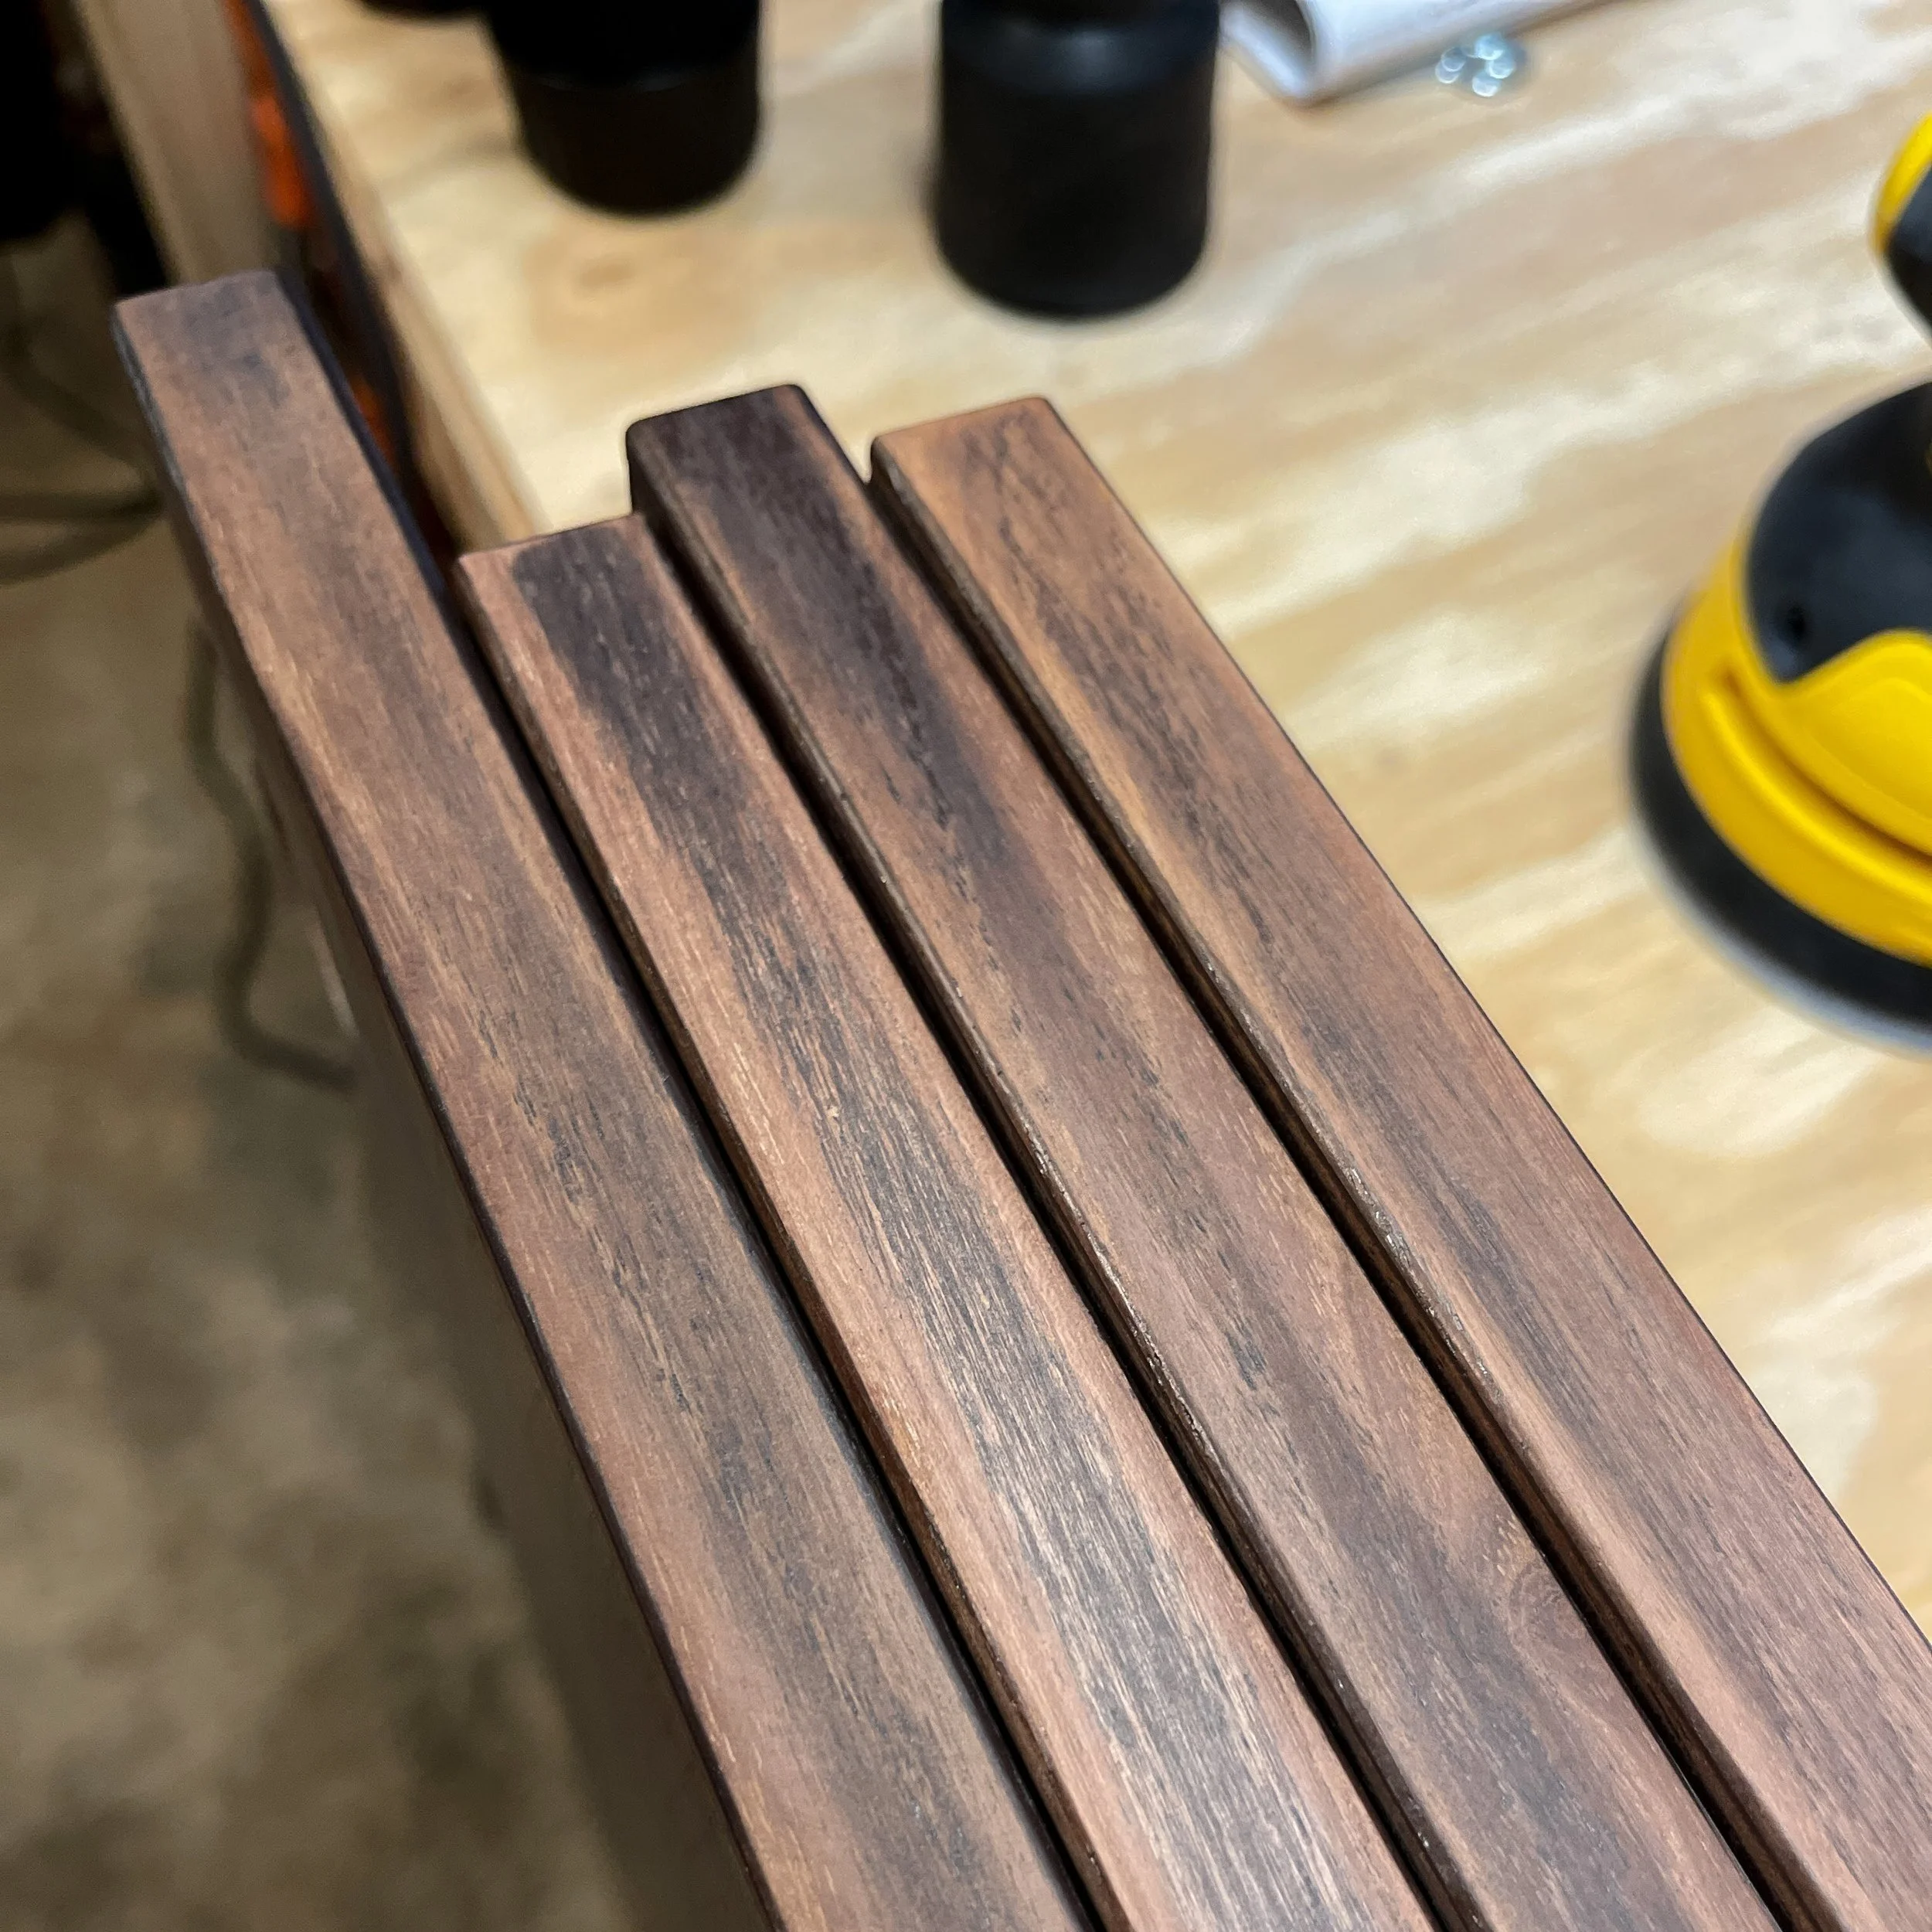
3
Then, I started gluing the strips along the door edges. You can get creative and decide where you want the strips, but I did ours 1/4" off the edge. This process took me a few days to complete. I would've done it in a day if I had endless clamps (the more clamps, the merrier here).

4
Once all glued and dried, I filled all the corners and all visible gaps with wood filler. Then I gave a thorough sanding once it all dried.

5
After all the sanding, I vacuumed all the loose dust with a soft bristle attachment, then wiped down everything with a tack cloth.

6
Time to prime. I first primed the doors with some Zinsser® Primer-Sealer that I had left from my wallpaper project for our bedroom. I used our paint sprayer to apply a thin layer starting on the backside of the door. Once that dried, I flipped it over, painted the sides and front, and let it dry overnight.

7
After the doors thoroughly dried, I sanded everything with 220 grit sandpaper, removing any imperfections and bumps.

8
Time to paint. I used a gallon and a half of Behr Premium Cabinet & Trim Enamel in Satin finish. I sprayed the paint a thin layer at a time, waited until it dried, then sanded lightly with 220 grit in between. I did a total of 3 light layers of paint on all sides, and this process took me longer than I hoped during over 90° days with high humidity, but it was well worth all the wait and all the process in-between.

For those who prefer a paint roller, I tried a 6" High-Density Foam roller, and the result was as smooth as the sprayed paint. The Behr paint I used has self-leveling properties, so it dries hard without any visible bumps. But I wouldn't skip the sanding in between the coats.
Also, drying these doors in our tiny garage was challenging, so I devised a quick DIY paint drying rack for this project. Check out the short reel here.
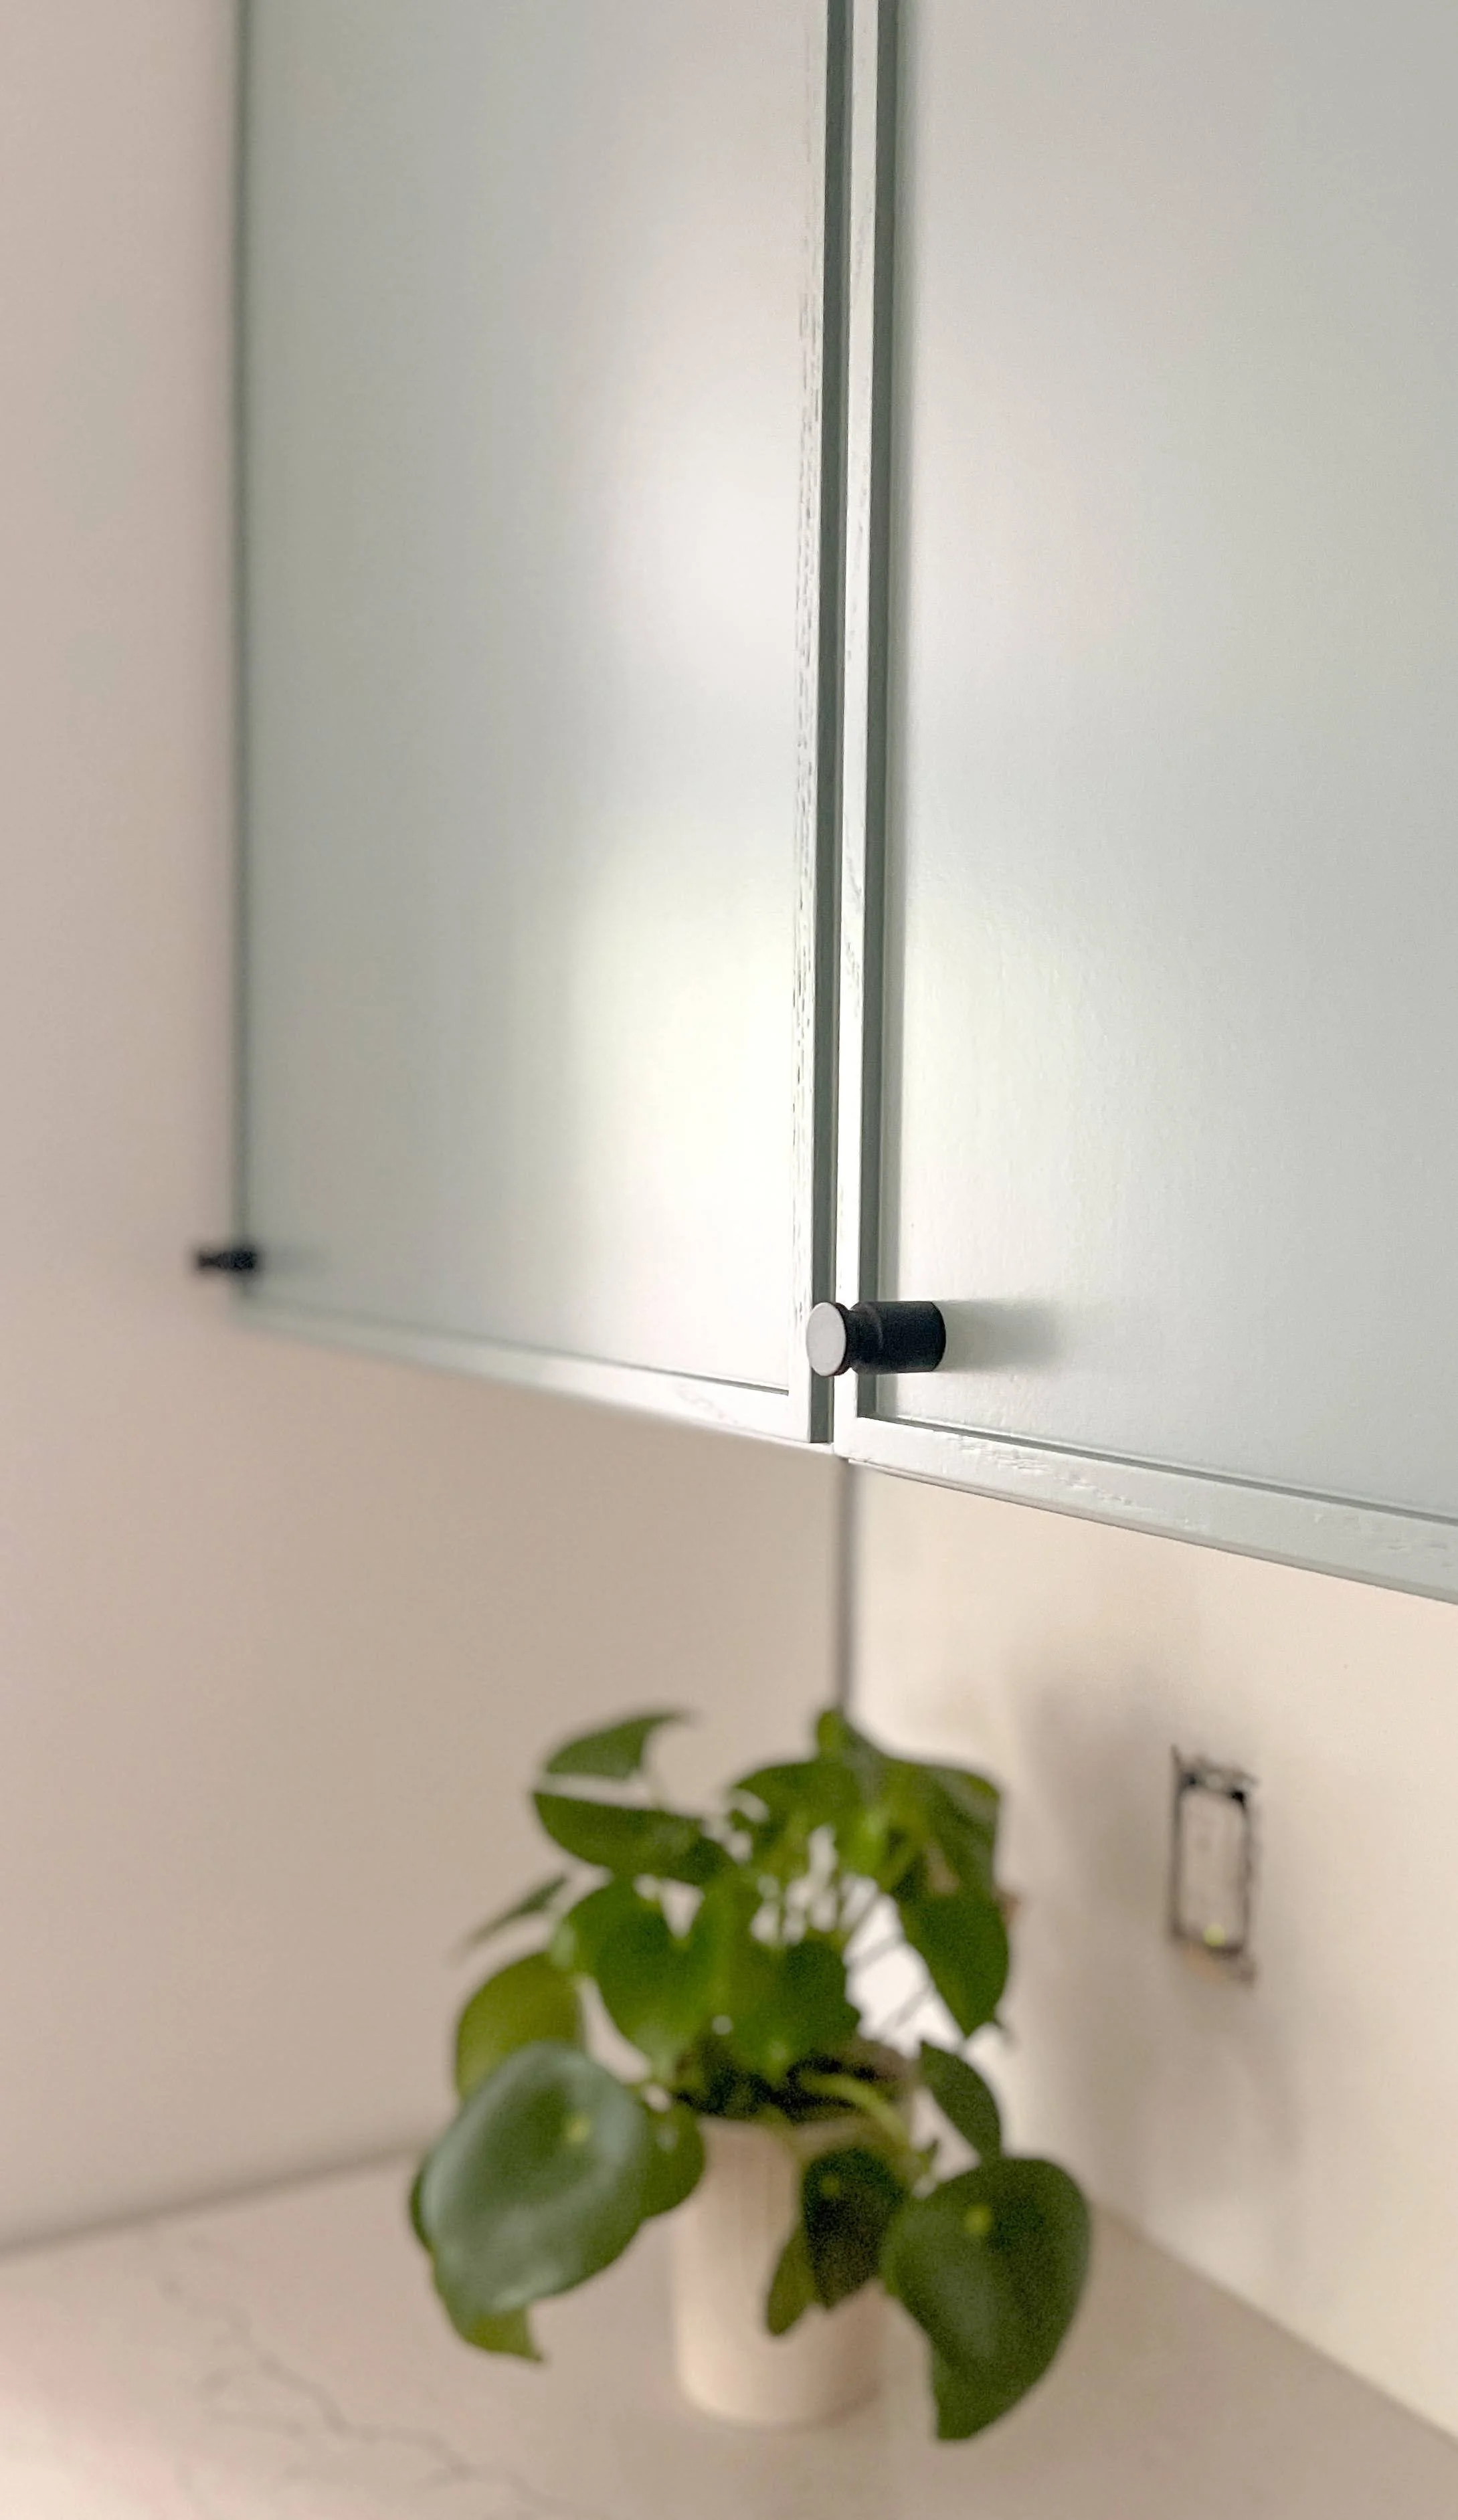
The morning after the last coat went on, I was impressed with how it all turned out, and I knew this was not my last hacking project. I would love to know if you hack one of these doors and see how it turned out.
Happy hacking!